Showing posts with label Embroidery Hoop Wall. Show all posts

Monday, 1 June 2015

CREATIVE: Grand Traverse Light

Grand Traverse Light

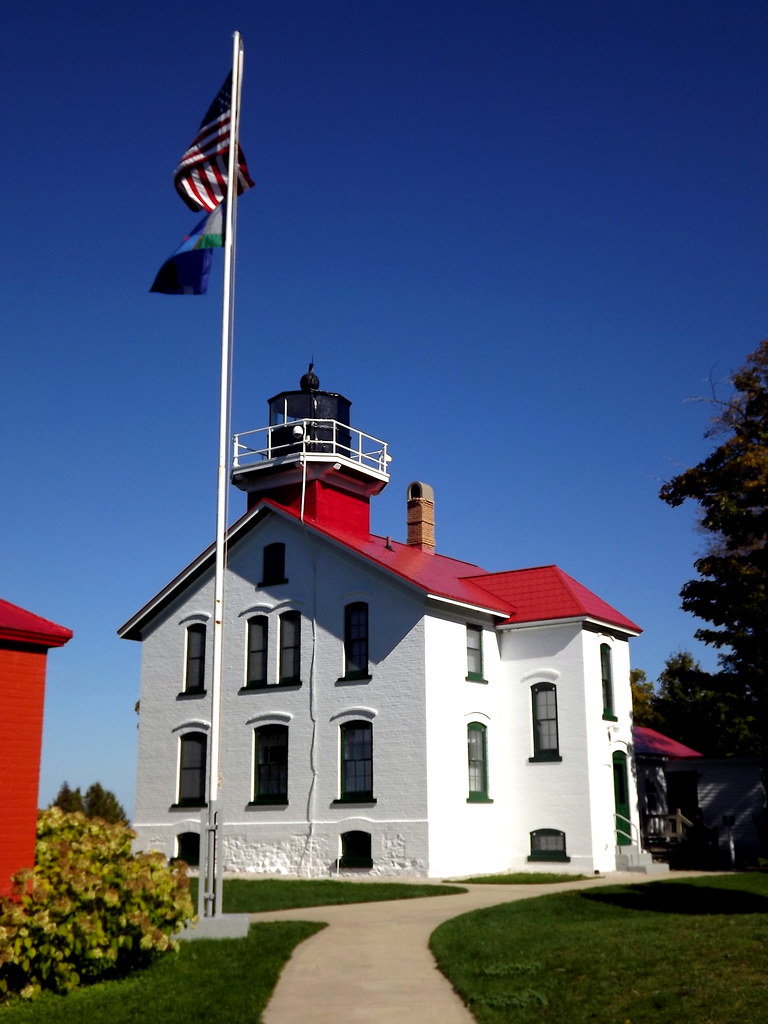
The Grand Traverse Light in itself is well worth the drive from Traverse City, not to mention the beautiful scenery of cherry fields and the Leelanlau State Park. In fact it was this very lighthouse that began my love for these buildings that you'll find all around the Great Lakes. 
Lighthouse
          
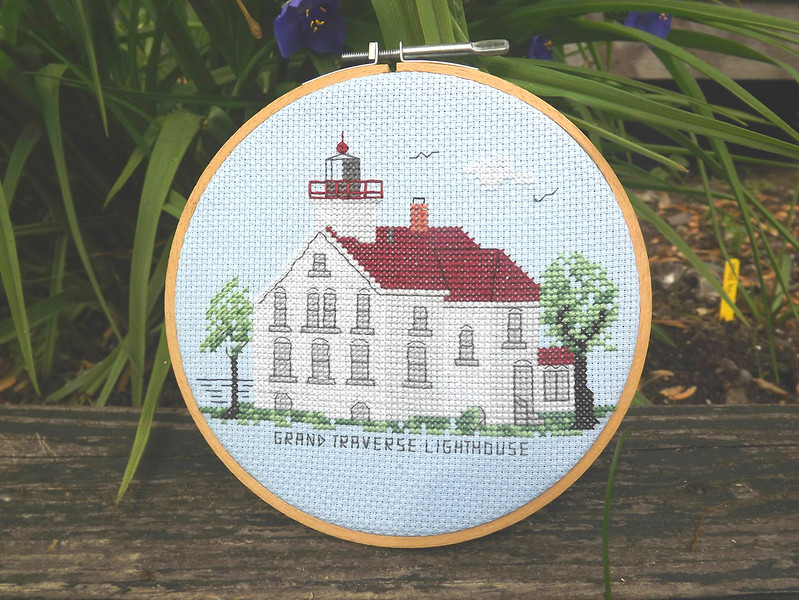
Luckily my love for Michigan lighthouses has always been forfilled with the cross stitch kits from Presque Isle Needleworks just so I have an excuse to mark my visits not only in photographs but in the craft I love the most. You might remember I've already stitched 40 Mile Point and Mackinac Point lighthouse - another two lighthouses we visited on our autumnal drive around the Lower Peninsular back in October 2013. After moving I knew hidden away in one of my cross stitch boxes was the kit for Grand Traverse lighthouse and it was high time I got around to stitching it. 
lighthouse

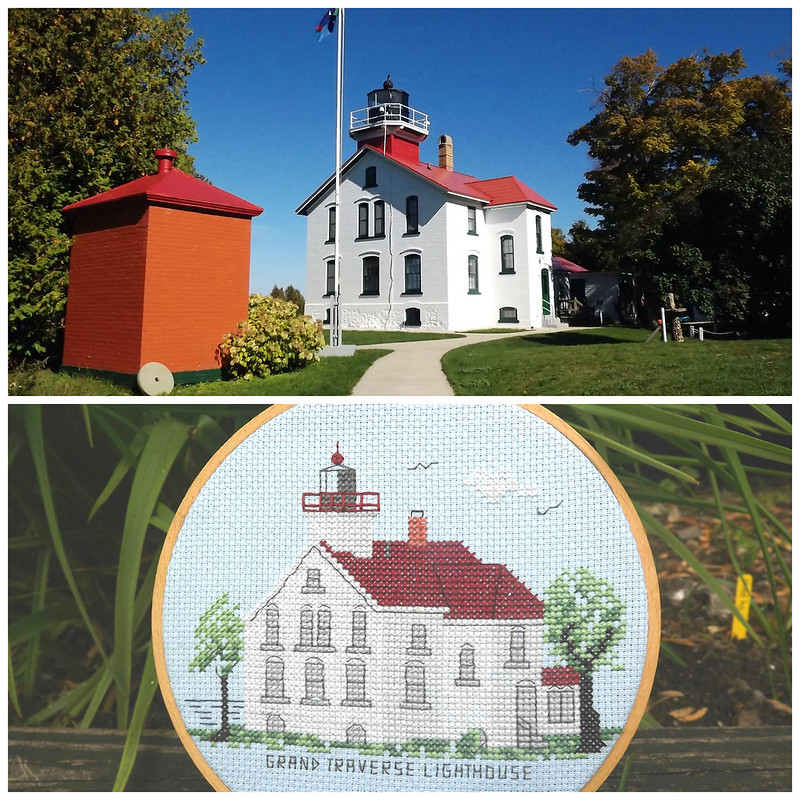
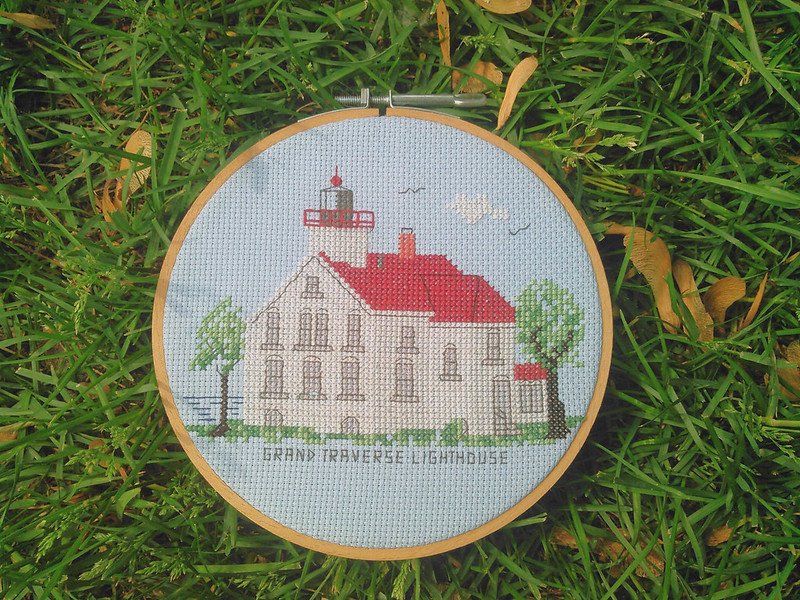
While it's stitched with a limited colour palette, I love their designs for how bold and eye catching they are. It's simple but they really do reflect the likeness of the lighthouse. Luckily enough they are just the right size for fitting within a 6" embroidery hoop to add to that old hoop wall of mine. 
Lighthouse

You can always remind yourself with my original post the Grand Traverse Light here. I'm going to have to get around to eyeing up some more lighthouses just for the mere excuse of then being able to stitch them. 

Friday, 24 April 2015

CREATIVE: Pennsylvania Blackwork Map

Pennsylvania

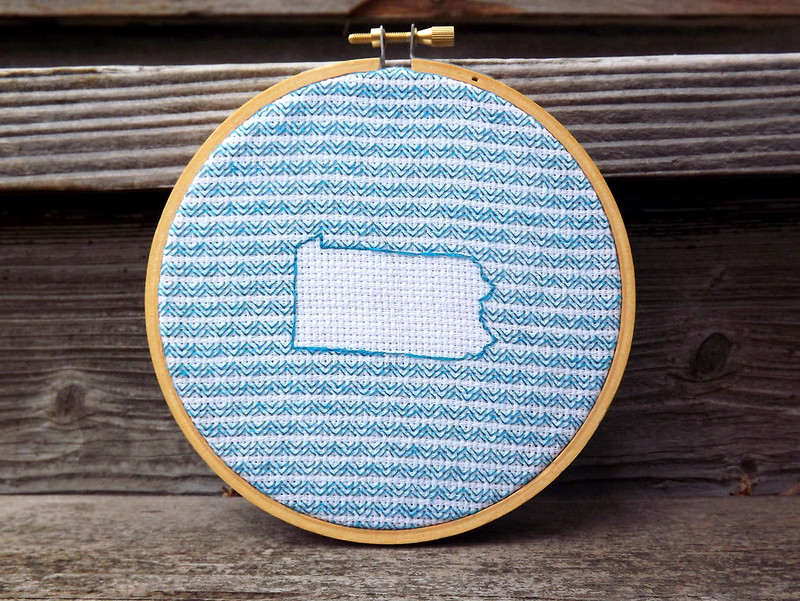
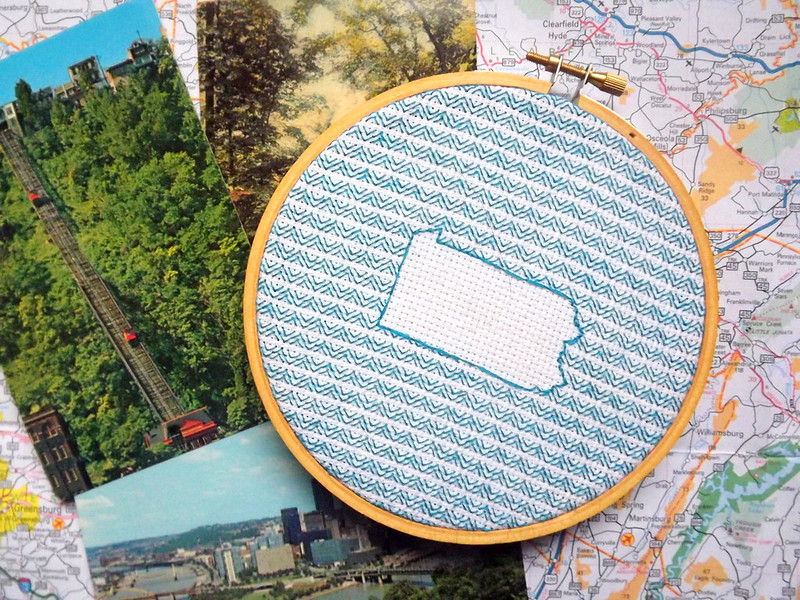
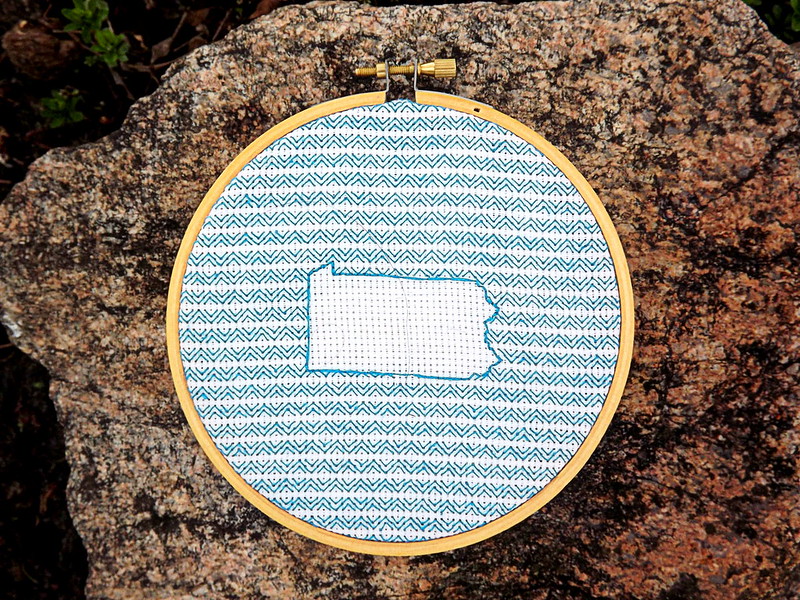
While i'm partial to collecting the odd vintage compact, postcard or magnet from my travels, i'm also trying to find a crafty way to mark each and every US state I manage to visit. Early last year I decided to stitch a blackwork piece of each state in turn, starting with the land I now call home, that of the Mitten state - Michigan (seen here). Early in March, I thought it was high time I got around to stitching another, this time the Keystone State - Pennsylvania.

Pennsylvania

Pennsylvania is Joe's home state and happens to be (if we're not counting passing through Ohio) the state I've spent the most time in after the Mitten State. Driving along the turnpike into Pittsburgh in parts it reminds me of the English countryside - it's lovely and hilly (something lacking in my corner of the world), green, full of trees and rivers. So many rivers.

Pennsylvania

Two states down, three to go.

Next up, Illinois!


Monday, 30 March 2015

CREATIVE: That Time I Turned Us into Cross Stitch Figures

Stitch Characters

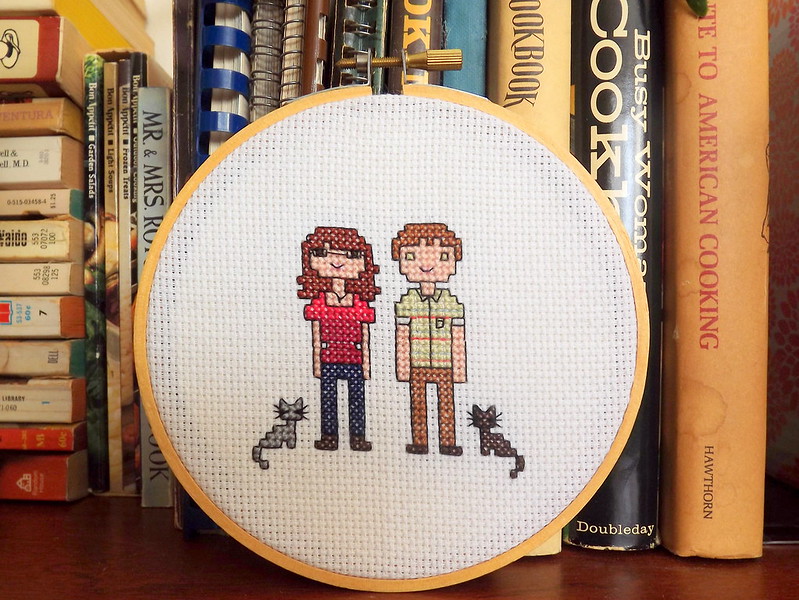
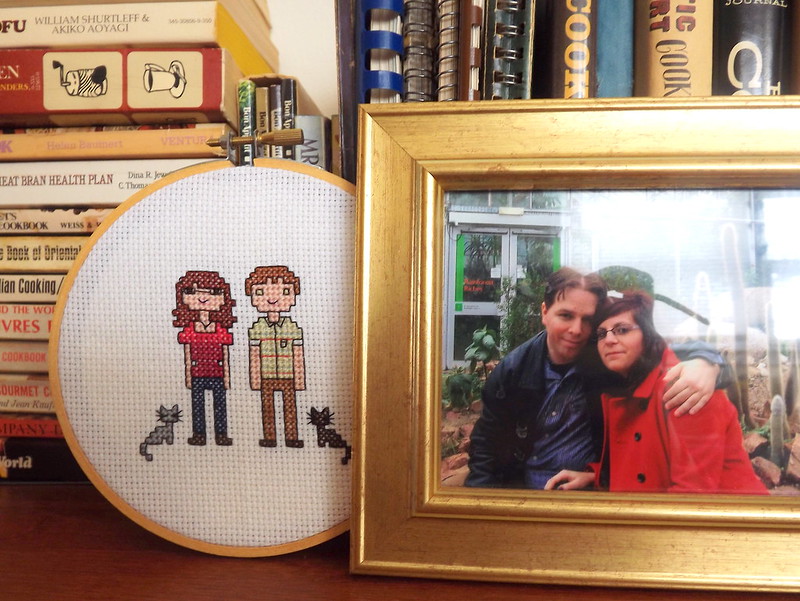
Like everything, there's trends in cross stitch, be is subversion lines that would make your grandma blush to turning your family into cross stitch characters. While I'm not much of a fan of the former, I can get behind anything to remember and mark me and my little world. 

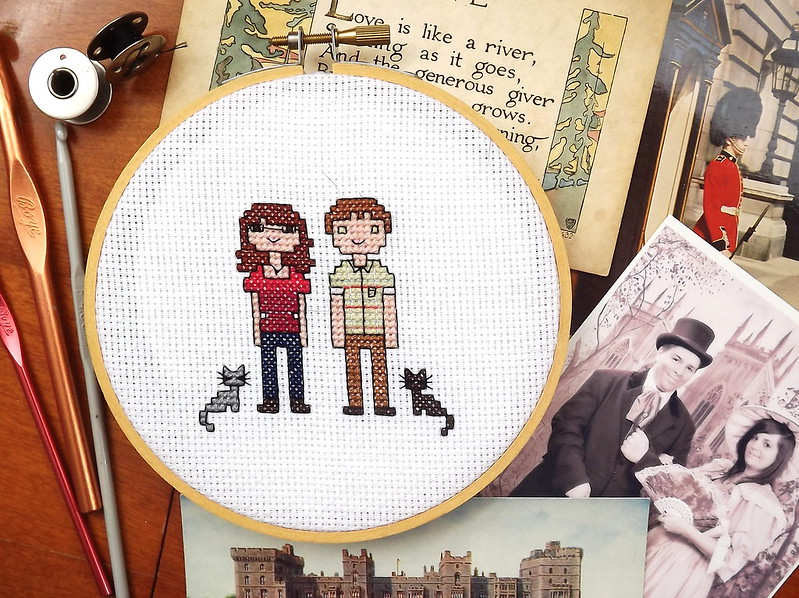
Etsy will get you spending all your pennies getting someone to design and stitch yourself a piece. But being the crafter I am, I'm more than happy spending the time, researching and working on a piece myself. Luckily I came across this great (and free) resource from Martha Stewart on stitching a family portrait which comes with a great selection of male & female figures, hair styles, face shapes to accessories. If you want an easy go to guide - I can't sing it's praises even more if I tried.

Stitch Characters

So what did I stitch? My little fur ball family and that special man of mine. There's me with my glasses, you'll always pretty much find me in my jeans and some form of boots on my feet, with my Teeny Tiny Smokey beside me and our other fur ball Ed, sits beside Joe. These photographs technically don't show the finished piece as I back stitched our surname underneath our feet, but for ya know, internet safety I'm keeping that name to myself!

I stitched it all up in an afternoon, it was that easy and straight forward and it makes a perfect reminder and marker of our life here in 2015.
Stitch Characters

What have you been crafting lately?

Thursday, 8 January 2015

CREATIVE: Fiddle Dee Dee!

Fiddle

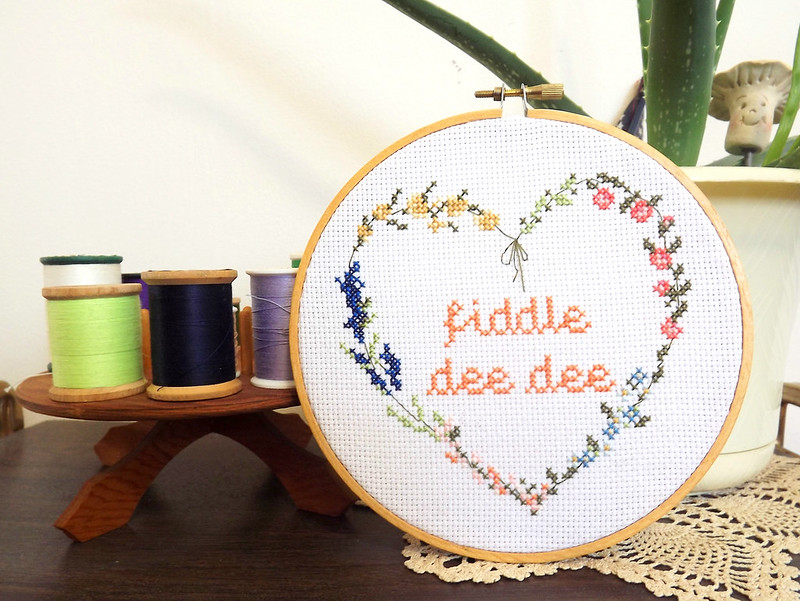
I'll be the first to admit that quote stitching which is all the rage these days and as an extension, submissive stitching isn't normally my cup of tea. Yet, a quote, a line seemed to be the only way to go with stitching something to mark my reading, finally of Gone With the Wind (one of my 30 before 30's). 

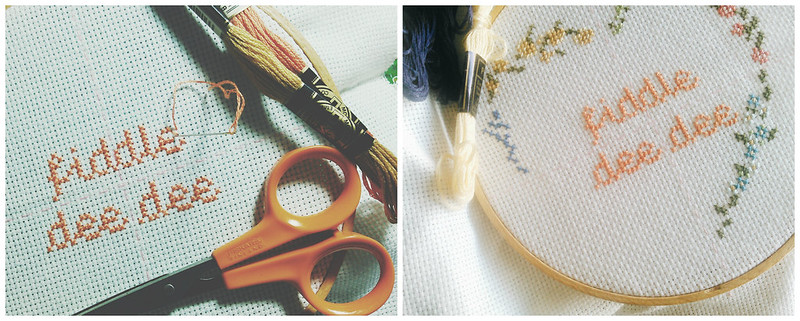
Cross stitch designs for Gone With the Wind that are already hanging around on the internets weren't really doing anything for me, so as always, it was a chance to create my own. Thinking of lines from the book, Scarlett's fiddle dee dee seemed like an obviously choice. It's a line she repeats throughout the story, one uttered when she's expressing some kind of impatience or scorn whether it's the men constantly talking about the chance of going to war with the Yankees or how marriage is just for fun for men.

fiddle dee dee

So the wording was pretty simple enough - I actually came across a cross stitch writing tool which is pretty handy if you want to work out and design your own quotes or samplers. And the heart flower wreath design is a free design from Luli, it became my final start of 2014 and my first finish of the new year and in the process, another addition to my embroidery hoop wall.

Fiddle

Fiddle dee dee indeed!

Friday, 23 May 2014

CROSS STITCHING: VW Bugs and Vintage Record Players

VW Bugs

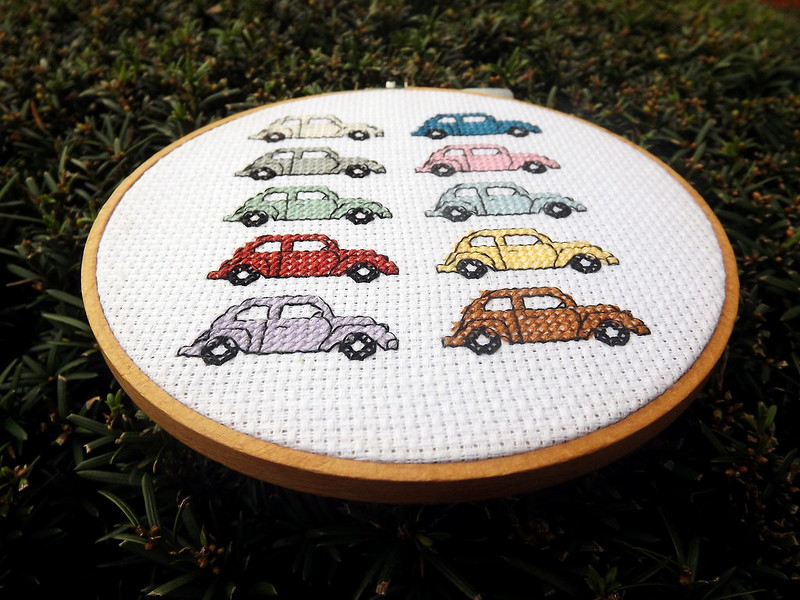
Me and Joe play the punch buggy game* all the time - be it during a quick drive to the post office or a road trip somewhere. It's always fun and I nearly always loose, it's just one of our little couple quirks. In my stitching mission to sew things that are personal to me/us it was Joe's suggestion to stitch something related to a VW Bug, I mean they are pretty cool right?

VW Bugs

The design is adapted from a cross stitching book by Jeanette Crews Designs titled 40 Classic Cars - One Nighters which had a delightfully cute 1960's VW Bug - a design I just repeated lots and lots. Keeping things simple, each car is stitched in just one colour (colours reflecting the actual ones we see here and there in the old Metro Detroit area) and finished off with a simple black backstitching design. Popping it into a 6" wooden hoop its yet another addition to that wall of mine.

Record Player

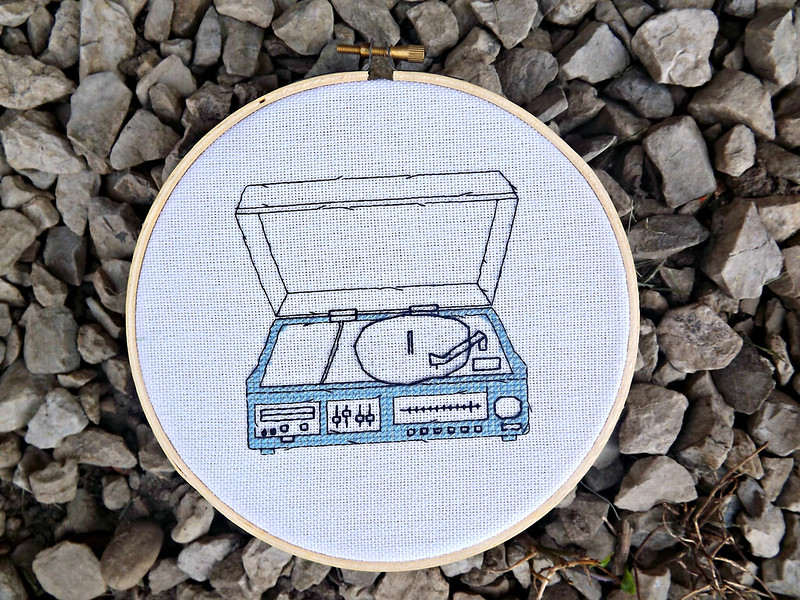
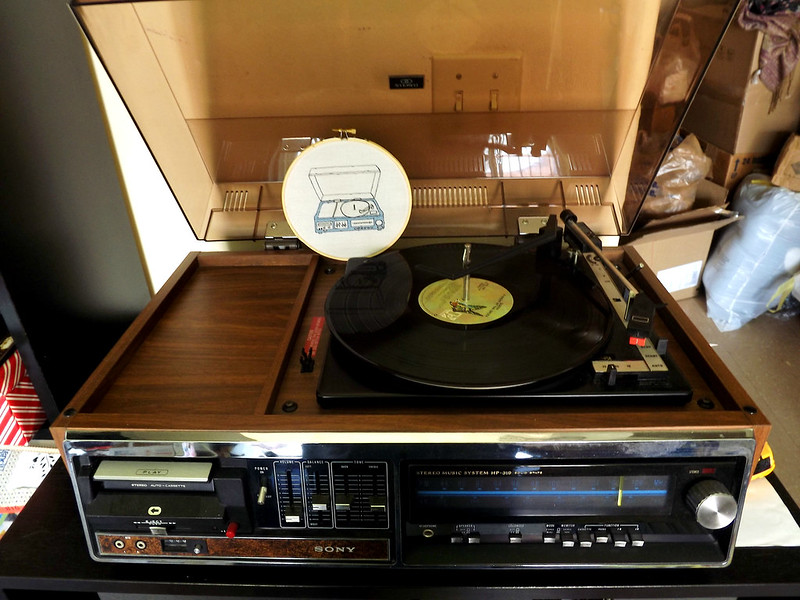
Going along with stitching more personalized self created designs I thought it was high time I tried stitching something vinyl record related, what better than trying to recreate our vintage 1970's Sony player - a player we picked up at an estate sale for a mind blowing $3 (yes really). It certainly wasn't the easily task, what with trying to stitch a circle so it actually looks like a record was on the tricky side but I like how it's turned out.

Record Player

Granted I jazzed up the colour from it's vintage brown into a more dashing blue, but most of the dials and so on are pretty much in their correct positions. The back stitching was pretty much free hand, a tale of learning and stitching as I went along. Just excuse all the mess in the background of that image - that's the packing pile for moving.

VW Bugs

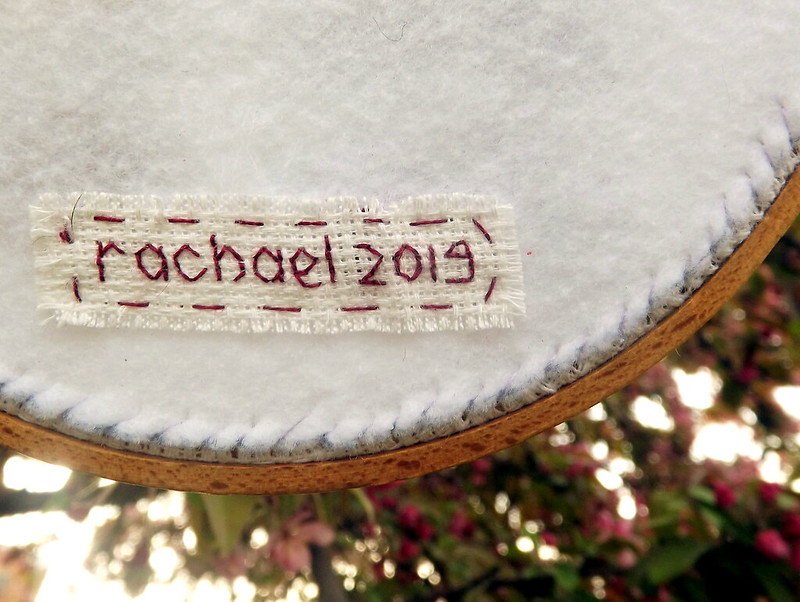
I've even managed to bulk stitching some simple markers in blackstitch lettering for the back of my pieces because I totally suck at remembering to do so and it's nice to be able to that somewhere a reminder of just when something was stitched (I mean aside from my blogs and stuff).

This is probably an excellent time to tell you about that other blog Hook Stitch Hoop that I've been working on, one more dedicated to my cross stitching, works in progress and the like. So if that's you're thing too, make sure to follow along!

What have you been crafting lately?

* Punch buggy game is one children often play and, on spotting a VW Bug one gets to punch the upper arm of their team mate, shouting either "Slug Bug"/"Punch Buggy" or shouting out the colour of said car.
signatureblog

Wednesday, 7 May 2014

BLACKWORK: Michigan State Map

Michigan Blackwork

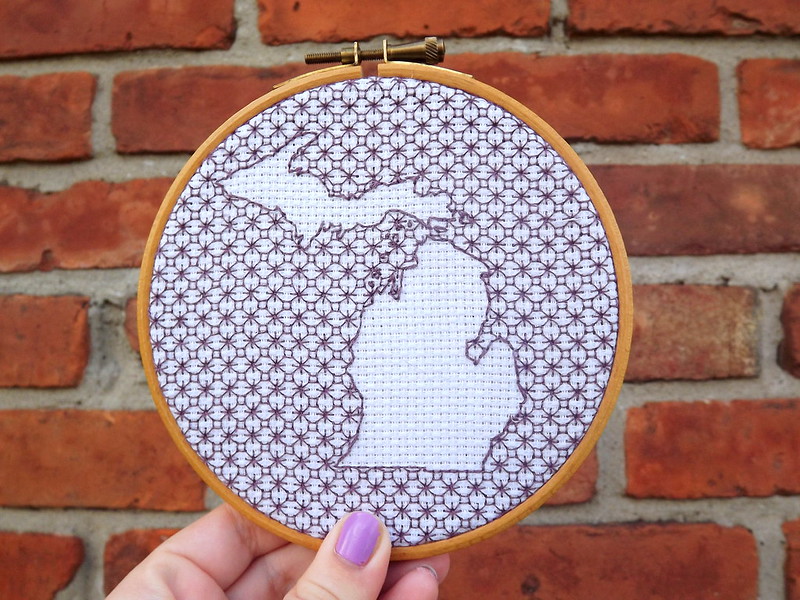
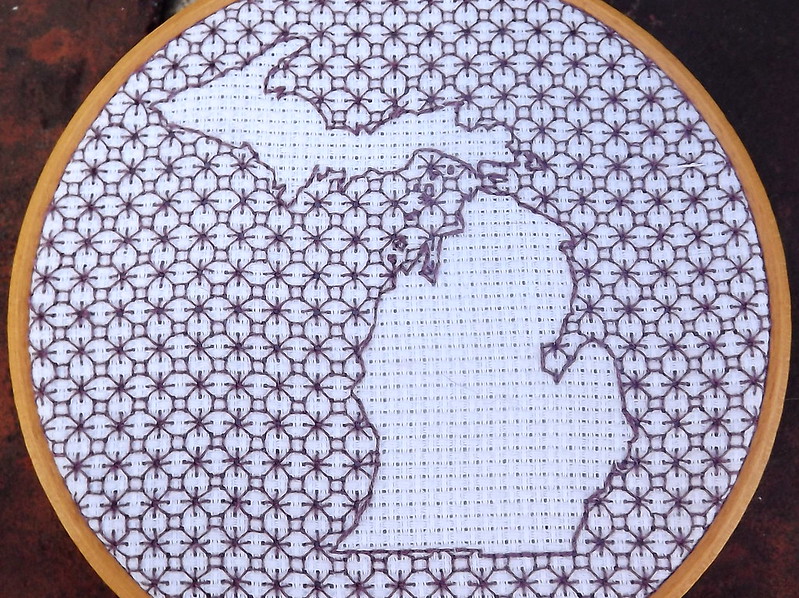
I've been itching to some some more blackwork for a while, constantly pinning ideas on Pinterest doesn't help matters. I've been intrigued by the use of negative space in blackwork  where by the blackwork frames the design be it a letter, a flower, or in this instance a map. While I can't claim originality on the concept of negative space in blackwork, the design is my own - the map taken from a website resource for blank maps and the block pattern just one of the hundreds of blackwork designs that are out there. As a form of embroidery, blackwork has been stitched since before Tudor age, however it's somewhat lost it's popularity and pattern books are hard to come by - on the few and far between occasions I find them at estate sales, they are like finding gold.

Michigan Blackwork

Between the Upper and Lower Peninsular's that make up Michigan are several islands - they do get blurred into the pattern somewhat but they are there if you look hard enough. Traditionally blackwork was stitched in black thread, sometimes red or gold being used to give that something extra. I was deciding for ages before I decided to go with a purple shade, a bright colour would have been great, but with only using one thread (bar the outlining which is in two) you always need to work with a colour that can stand on it's own. The finished design is framed in a 5" hoop I had on hand (yes it's another addition to the embroidery hoop wall).

Michigan Blackwork

Not that I need to give myself any more projects, but I was thinking about adding and creating some more state based designs from the states I visit as and when, perhaps even though in a map of East Yorkshire to balance it all out.

Ya know because I don't have on my crafty projects to do and all.
signatureblog

Friday, 25 April 2014

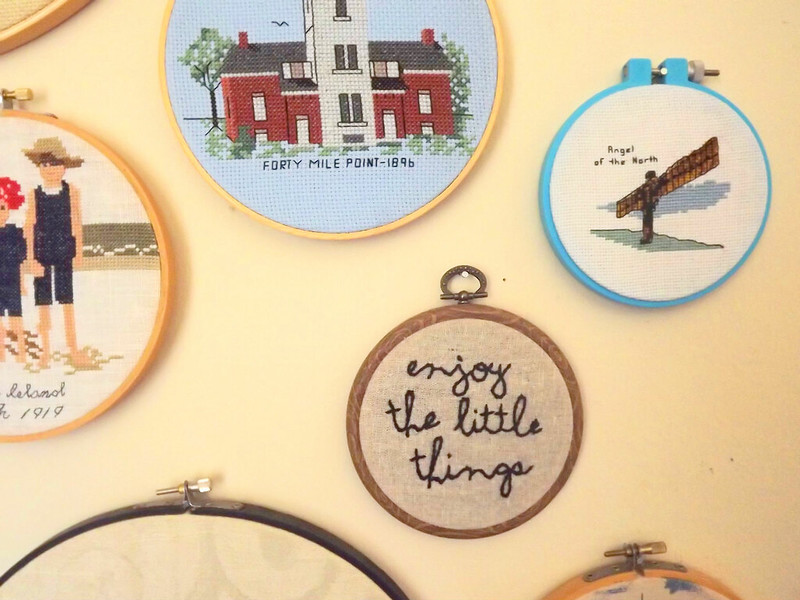
CROSS STITCHING: Angel of the North

Embroidery

So I thought I'd end the week on a crafty note, seeing the weekend is right upon us. You would think having stitched for so long (it's going on twenty plus years) I might have turned my hand to designing, messing around and creating my own patterns, but in, fact aside from stitching this blackstitch sampler, I never have. While I'm more then happy at adjusting colors and picking out my own threads, changing fabrics to backing and framing my own pieces, the thought of designing I felt was always beyond me.

But with stitching both the Mackinac and Forty Mile Point Michigan lighthouses, I thought there needed to be a bit of more English input. While it's pretty easy to find charts featuring American places, British ones are a little trickier. Over a couple of days I played around a lot of websites where you can upload your photographs and they'll chart out a cross stitch version you can stitch you can alter how many colours, the style, it's kind of addictive seeing all your photographs stitching. The result now being I have a couple of Yorkshire lighthouses all charted out and ready to roll. 

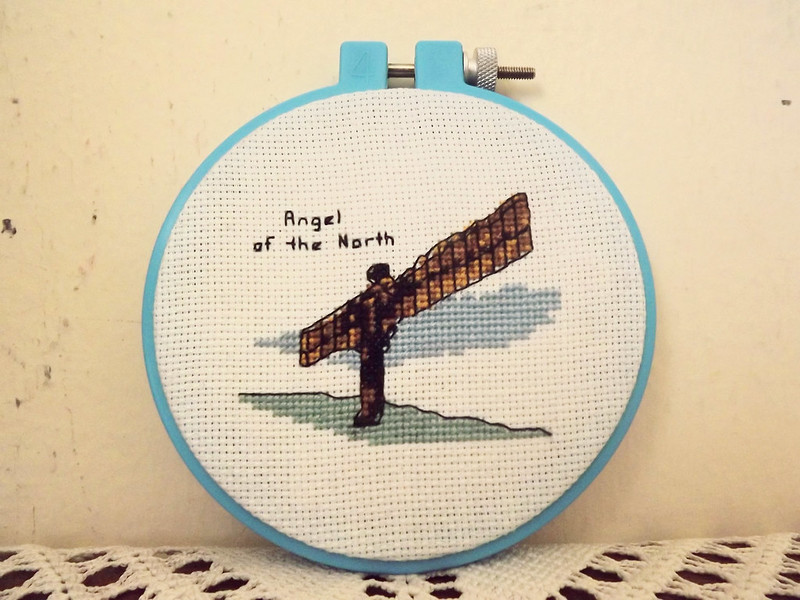
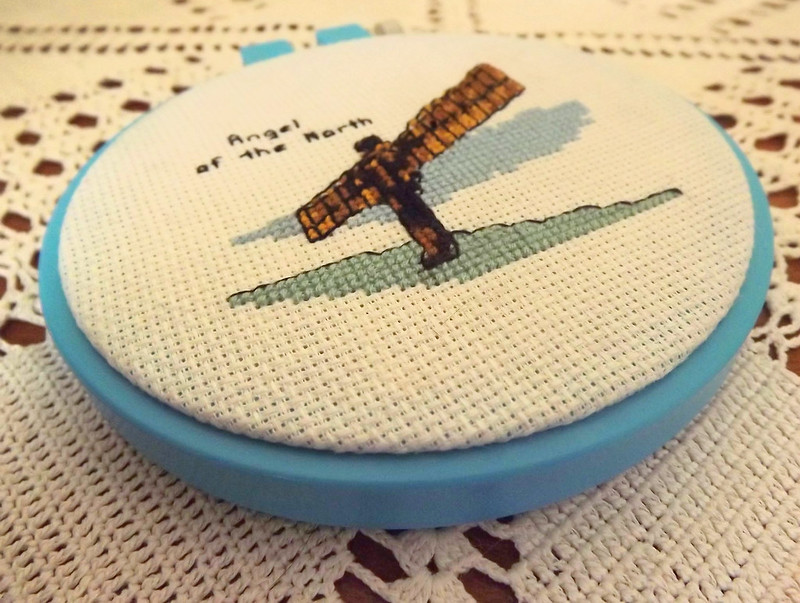
Rather than throwing myself fully into the deep end I thought a test run with a much smaller and simpler pattern would be in order. So I came up with this little 3"ish Angel of the North design - it's pretty simplistic, but I like the result. It's certainly given me the confidence to mess around and design my own - working out a design around VW bugs will be how I'm spending this weekend!

Angel Embroidery

Why the Angel of the North? Well heading back to Newcastle for the four years I lived there, seeing the Angel as we passed by on the train, I always knew my Geordie home was close, it always was my homing beacon.

Have you every designed anything crafty yourself? 

Monday, 7 April 2014

CROSS STITCHING: Mackinac Point Light

Mackinac Point Lighthouse

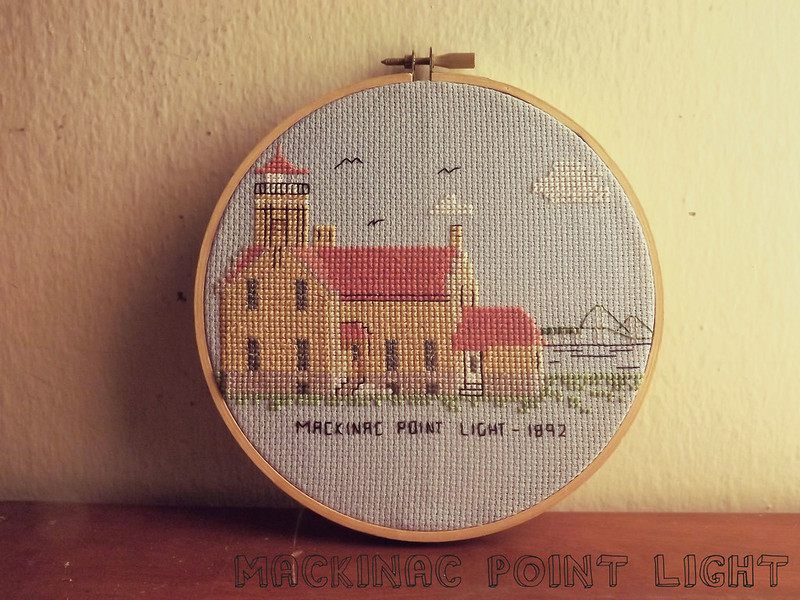
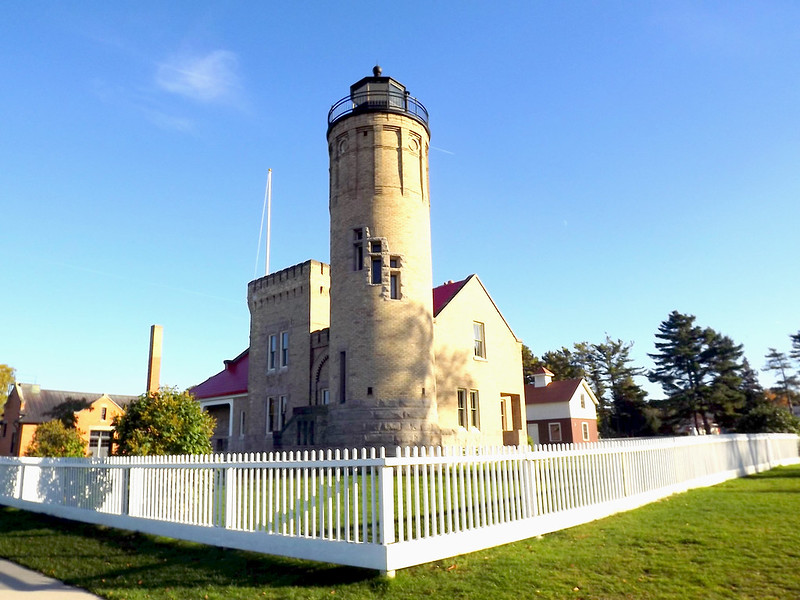
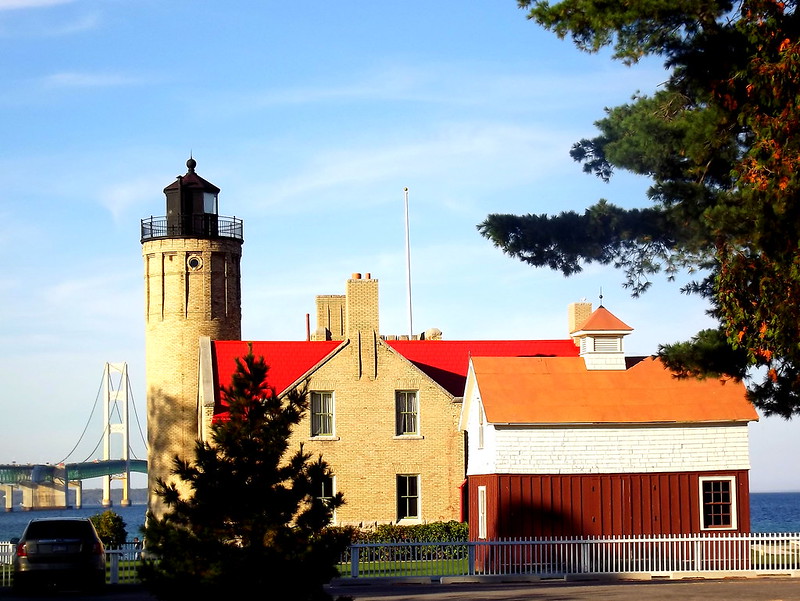
Another pretty cross stitch project all complete - this time back to a more traditional design from Presque Isle Needlework of Mackinac Point - another of the lighthouses we saw on our travels up north last October. I love these designs for how bold the coloring is and even though it's a very limited color selection, it works wonders - although the full colours don't really come out in the above photograph due to how dark our apartment is for photo taking. Nevertheless I do love being able to compare the finished needlepoint design to the real thing, but it took me a while to figure out just which angel I'd stitched it from.

Mac City Mackinac Point Lighthouse

It's pretty much a squashed in version of the bottom photograph which was taken from what I would have consider the backside of the lighthouse (just mentally remove the tree and shed and you're there). Granted there's a little artistic license been taken with the repositioning of the bridge but I can live with that. Luckily it just fits into a 6" embroidery hoop to add to the hoop collection - they certainly just give you enough aida to stitch the piece on that's for sure.

What are you crafting at the moment?

You can also find my completed 40 Mile Point lighthouse cross stitch here.

Thursday, 14 November 2013

PROJECTS: Cross Stitch Completion Mission

Cross Stitch

Give me any cross stitching project and there's a high chance i'll give up sewing it 3/4 of the way in. Why?! I get too distracted by the next project I intend to do that I begin daydreaming about in my head whilst sewing the cross stitch I'm trying to finish, give up on it shortly after and start the new one.

Sewing in such a manner left me with five, yes five uncompleted projects all lined up in my sewing pile. All from the last year, all nearly completed, all so nearly completed but never done. So the last couple of weeks I made myself finish at least a couple of the projects before my hands wander onto yet another piece of stitching. 

I actually ended up completing three, all sewn, finished, backstitched and framed as new additions to my embroidery hoop wall (although one was a Christmas design for a card which I'll be blogging separately in a couple of weeks). Both the patterns, frames, material and floss were all from estate sales which I find the perfect place for getting supplies really cheap and funds my addiction while saving money.

Cross Stitch Cross Stitch

In fact the 1919 beach scene was an unopened 1979 vintage sewing kit I found at a sale and turned out to be my first cross stitching design sewn upon linen (as someone who has been stitching since I was five it's somewhat hard to admit). Originally it was intended to be rectangular with a simple brown cross stitch border, the backstitching of the place and date to the left of the design which did make it look more dated, I was rather impressed myself how much a simple change of moving stitches and framing it in a hoop actually made. It pays to explore and adapt patterns as you see fit.

Cross Stitch Cross Stitch

Before I began stitching the beach scene I was midway through the flower bouquet - a design actually stitched using only one thread which creates a very blended colour scene to the picture. I don't normally tend to be a fan of flower designs (I say that with two flower designs now on the wall) but they don't tend to be my favorite things to sew but i'm impressed if I do say so myself how this one turned out.

Admittedly there still sits another two unfinished cross stitching projects to complete, seeing the success of this mission they'll be lined up for the next completion challenge. But there's only so much I could do before I got truly tempting into stitching a lighthouse design I picked up at said lighthouse during our Michigan roadtrip last month.

Cross Stitch Wall

What have you been crafting lately?

Thursday, 12 July 2012

Cupcake painted embroidery hoop

DIY cupcake hoop featuring DecoArt Ink Effects

I love an excuse to add to my embroidery hoop wall, so when I was chosen to receive the new range of DecoArt Ink Effects I was really excited to give them a try. The DecoArt ink effects allow you to paint and then transfer your design onto material. I love all things cupcakes - both eating and making them so I knew I wanted them to feature, but before we get to the project, lets see what's available and what the product is all about.

The DecoArt Ink Effects is a range of 12 colours formulated to be painted onto paper then transferred using an iron onto material. In addition the basecoat allows you to work with cotton materials [any material with more than a 30% blend of cotton the basecoat is required] enhancing the colouring and quality of the transfer. More so even after transferring, the material remains soft and flexible, they even survive a cold wash making them perfect for adding details to white and/or light coloured clothing or home decor.

DecoArt Ink Effect Products
Drawing

So onto the project - redrawing a design from ones found in the internet I took to painting. Because your transferring your painting you need to paint everything you want to transfer - be it the tiniest detail to outlining. After you've painted your design you need to wait at least 45 minutes for it to dry.

As my material was 100% cotton I had to use the basecoat - it took a while to get the hang of how to apply this product and you need to give it a good shake prior to application and spray liberally. When you're ready to transfer make sure to place something under your material so it doesn't additionally copy onto your ironing board. Place your painting face down over the material, cover with another piece of paper and you're ready for ironing! Set it to the cotton setting and keep a constant firm moving motion over the design for a good minute to make sure the full colour is being absorb into your material.

Ironing
DecoArt effects transfer

As you can see from the image this product is one that you learn by trail and error [and that's what you come to learn through using this product - it something you teach yourself how to do which is part of the fun of using it]. The image on the left was my first attempt and my cupcake on the right is the final image. You can see the difference in colour quality and the original basecoat problems and comes to show why you should test your images on scrap material beforehand. Once you get it right - it's really worth all the hard work getting there!

crafts

I did find outlining with the paint difficult so I wanted to add embroidery detailing. With the transfer leaving a lot of life in the fabric - it's still soft and flexible enough to embroider straight onto the transfer.

Overall I'm pretty impressed with this DecoArt Ink Effect paints -  although you really do need to have the patience to practical and make sure you're getting it right. Once you do - the results are mighty impressive and there's tonnes of projects you could make with this product.  For me they worked really well as a basis to then go on an add extra detail.

You can find out more about DecoArt Inks via; Facebook  // Pinterest // YouTube // Twitter

Would this be a product you'd be wanting to try out? What projects would create with the ink effects?

These items were provided for my consideration and I have been compensated for this review. Nevertheless all thoughts are my own.

Tuesday, 19 June 2012

Dragonfly cross stitch

Dragonfly cross stitch Dragonfly cross stitch Hoop wall dragonfly cross stitch
There's a new addition to the embroidery hoop wall after completing my cross stitch dragonfly [the pattern for which came out of the Cross Stitch Magazine]. This project was something I really got into but with only just one colour it started to drag out a little, and it became something I'd pick up every now and again. But being only four lines of the wing away from the end got me on a sudden drive last week to finally finish it off and hang it up. It's sewed completely in metallic DMC thread which in itself can be a bit of a nightmare - I had one lot of thread that tangled itself up every other stitch and another thread that was a dream. That's just the luck of the draw. I love it's size - which makes it such a statement piece [the sewing is ten and a half inches at its widest and its framed in a 12 inch frame].

Now just need some more ideas for more embroidery hooped pieces!

Friday, 25 May 2012

Pipe Dreams and Patchwork

Patches Patches

Patchwork was one craft I always grew up around. My mam use to do it on and off for years but never really seemed to every finish anything major with it. I think that's one of the downsides to this craft - it can take a lot of time but designing, cutting and sewing before you start to make an indent in your design. I've made the odd couple of cushion covers before but only using the hexagonal shaped patches which are pretty easy to cut, make and sew together so I wanted to try and make something patchwork based to add to my hoop wall. The beauty of patchwork is that you can pretty much use any fabric you come across - mine being from the discount aisle of JoAnns, the fabric bags sheets come in to an old pair of jeans. Its recycling or maybe even up-cycling - in a crafty, pretty way. 

Patches Patches

Recently I've been having a pipe dream of making something similar and opening a shop on Etsy for things like the above and perhaps some crochet work. Sadly I don't know if my craftsmanship is up to it because they are obviously handmade and or if people would want to buy them. What do you think?